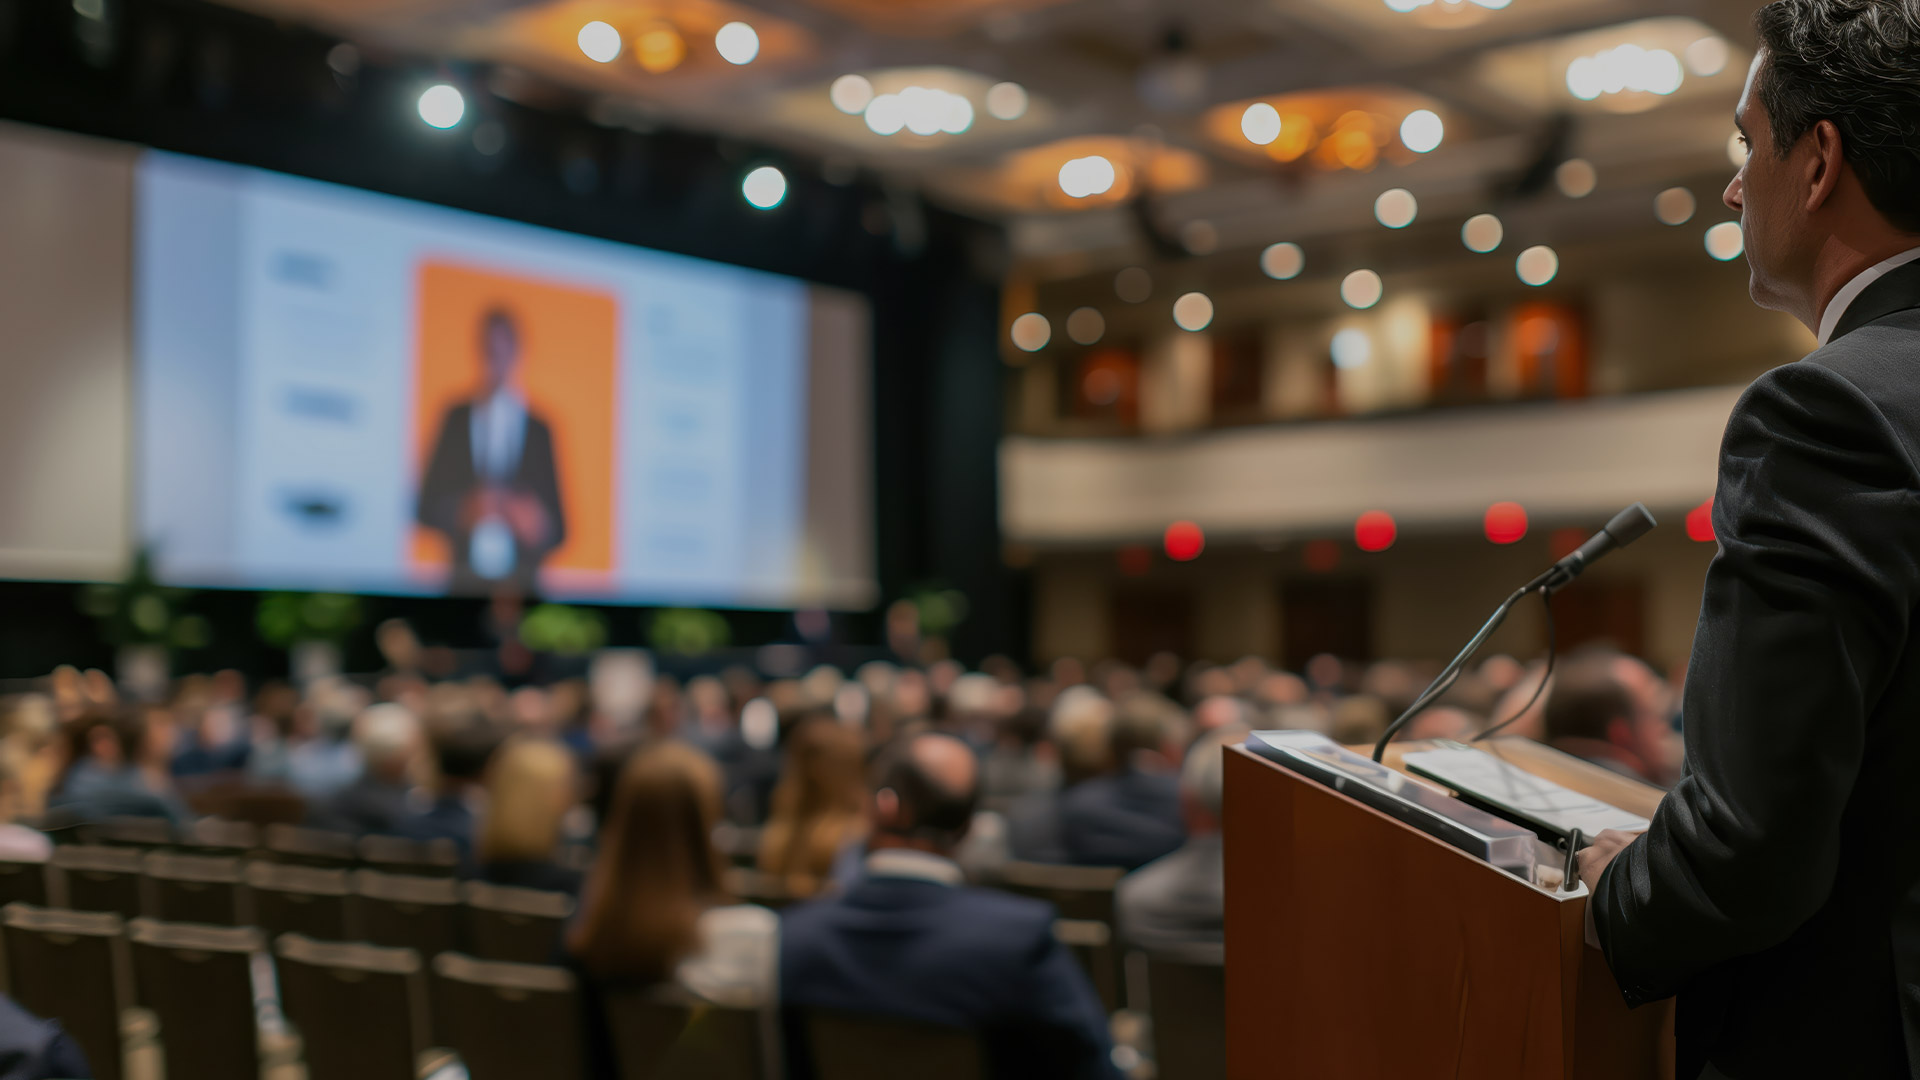
Setting up a professional sound system for your event doesn’t have to be intimidating. Whether you’re hosting a corporate gathering, wedding, or concert, the right setup can make a world of difference in delivering high-quality sound. In this guide, we’ll walk you through the steps to ensure your sound system setup is as smooth as possible.
1. Select the Right Sound System Equipment
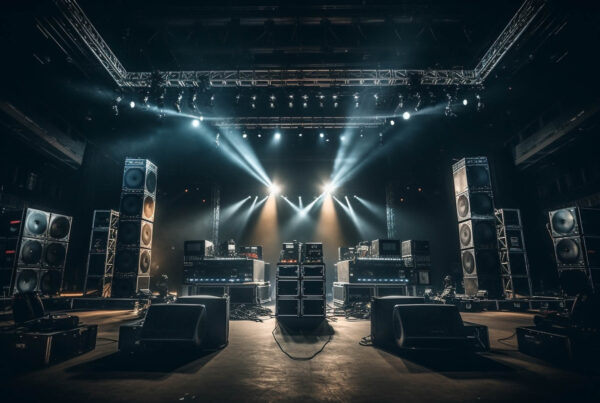
Choosing the right equipment is the first step in a successful sound setup. Depending on your event size and type, consider the following:
- Speakers: For larger events, powered PA speakers can provide plenty of volume, while smaller events may benefit from compact monitors or portable speakers.
- Audio Mixer: A mixer is crucial for adjusting sound levels. Opt for one with enough channels to handle all of your inputs (microphones, instruments, etc.).
- Microphones: Wireless mics are excellent for events where mobility is important. If you’re on a tight budget, wired mics will still deliver great sound.
- Cables and Connectors: Ensure you have enough high-quality cables for connecting all your equipment. XLR and 1/4-inch cables are typically used for professional audio setups.
- Stands and Mounts: Don’t overlook the importance of microphone stands and speaker mounts to keep everything secure and properly positioned.
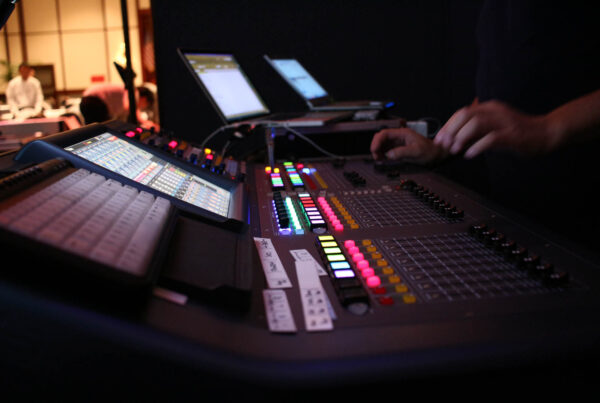
2. Set Up the Audio Mixer
Once you’ve chosen your gear, it’s time to get everything connected. The audio mixer is the heart of your sound system, so ensure it’s set up correctly.
- Inputs: Connect your microphones, instruments, and any other audio sources to the appropriate channels on the mixer.
- Volume Levels: Start with all the volume knobs set to a low level to avoid sudden loud noises that can damage your equipment.
- EQ Settings: Adjust the bass, mid, and treble frequencies on the mixer to suit the acoustics of your event space.
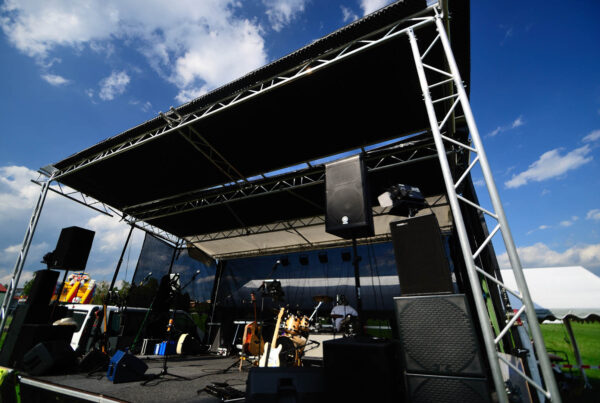
3. Position Your Speakers for Optimal Sound
The placement of your speakers has a significant impact on sound quality. Here’s how to do it right:
- Height and Angle: Position your speakers above head height and aim them towards the audience. This helps to avoid sound reflection off the floor or ceiling.
- Avoid Obstructions: Make sure the speakers aren’t obstructed by furniture or walls, as this can cause muffled or uneven sound.
- Even Coverage: For larger events, place speakers on opposite sides of the room to create balanced sound coverage.
4. Connect Your Audio Equipment
Once your mixer and speakers are in place, it’s time to connect everything.
- Mixer to Speakers: Use the appropriate cables (typically XLR or 1/4-inch) to connect the output of your mixer to the input of your speakers.
- Microphones to Mixer: Plug your microphones into the mixer, and if using wireless, ensure the receiver is connected properly.
- Power Amplifiers: If you’re using a power amplifier, connect it between the mixer and speakers to boost the sound output.
5. Test and Troubleshoot
Before your event begins, do a full test of your audio system.
- Check Volume Levels: Gradually raise the volume levels on your mixer to ensure nothing is distorting.
- Walk Through the Room: Test the sound from different parts of the venue to ensure there are no dead spots or feedback issues.
- Check for Interference: For wireless systems, check for any signal dropouts or interference. It’s a good idea to have a backup wired mic on hand just in case.
6. Fine-Tune During the Event
Once your event is underway, don’t forget to keep an eye (and ear) on the sound. Be ready to adjust levels as needed:
- Monitor Audio: Continuously monitor the sound from different spots to ensure everything remains balanced.
- Adjust EQ: If certain frequencies become too dominant, tweak the equalizer settings on your mixer to smooth things out.
- Manage Feedback: If you hear any feedback, quickly lower the mic gain or adjust speaker placement.
7. Safety Tips for Audio Equipment
Finally, ensure the safety of your equipment and guests:
- Use Surge Protectors: Always plug your audio gear into surge protectors to avoid electrical damage.
- Cable Management: Keep cables organized and out of the way to prevent tripping hazards.
- Ventilation: Ensure your amplifiers and other audio equipment are in a well-ventilated area to avoid overheating.
Conclusion: You’re Ready to Rock Your Event!
With these DIY audio system setup tips, you’ll be able to create a professional sound experience for any event. By selecting the right gear, positioning your speakers properly, and testing everything in advance, you’re well on your way to hosting a flawless event. If you need any additional help or equipment for your next event, don’t hesitate to contact us at AudioSystemRental.com—we’ve got you covered!